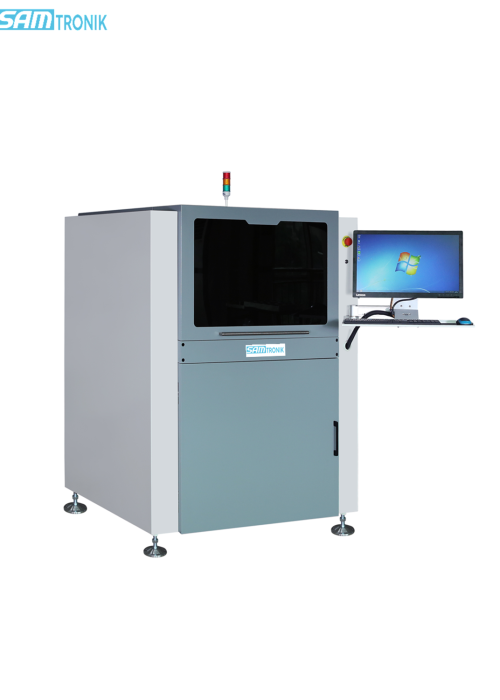
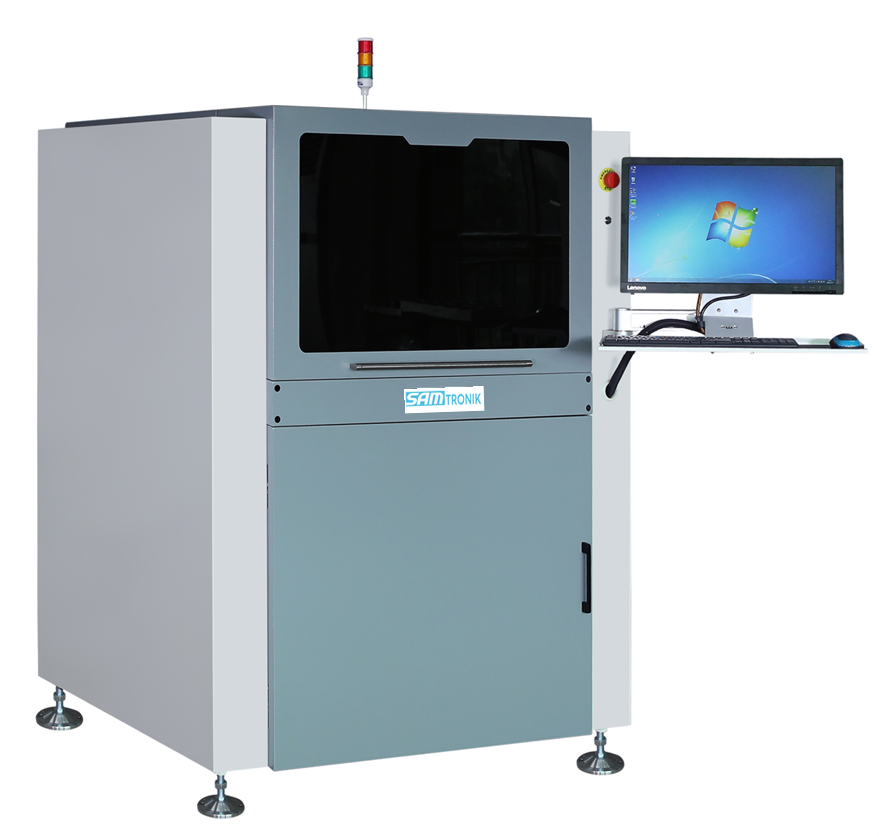
Automatic Stencil Inspection Machine
- Model
- SG-800
Review
Description
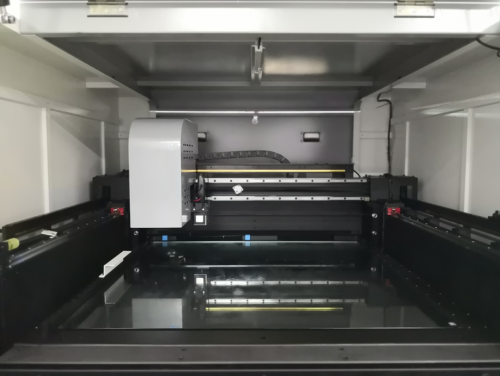
The main principle of Stencil detector is to place Stencil between the optical detection system and the coaxial bottom light source, and display the Hole on the Stencil through the coaxial movement of the light source and the light source system.
The image information obtained is compared with the GERBER file of steel mesh design to check the accuracy and quality of Stencil's production.
In the process of using Stencil, check the cleaning effect and quality change of Stencil.
| Serial number | Type | Item | Details | ||
|---|---|---|---|---|---|
| 1 | Test specification | Model | SG800 | ||
| 2 | Test purpose | New Stencil opening accuracy, quality inspection, old Stencil cleaning effect detection, foreign object detection, tension measurement, Stencil precision comparison, thickness measurement, scraper inspection, etc.; | |||
| 3 | Test content | Position, size, quantity, quality, precision, foreign body, tension, burr, breakage, porous; | |||
| 4 | Full board redundant hole inspection | full plate redundant hole inspection | |||
| 5 | Stencil and step Stencil thickness measurement | Manual microscopic visual measurement of the thickness and quality of the Stencil and step Stencil wall; | |||
| 6 | Scraper straightness check function | Optional | |||
| 7 | Test speed | 0.8s/FOV | |||
| 8 | Inspection accuracy | Dimensional measurement accuracy | 6.7μm (within the same FOV resolution: 0.335um) | ||
| 9 | Area measurement accuracy | GR&R<10% | |||
| 10 | Position accuracy | GR&R<10%, grating scale resolution ±1μm | |||
| 11 | Tension detection | High-precision tensiometer, any multi-position test; Accuracy: ±1N.cm, tension range: 0~50N | |||
| 12 | Minimum detection opening | 60μm * 60μm | |||
| 13 | Camera | 2448X2048 Pixel 5 megapixel German camera | |||
| 14 | Optical system | Lens | 10M custom double-sided telecentric optical lens | ||
| 15 | Top lighting | Ring LED top light, coaxial LED light source | |||
| 16 | Bottom lighting | High power white light coaxial LED light | |||
| 17 | Resolution | 6.70μm /pixel | |||
| 18 | FOV size | 16.9mm*13.9mm | |||
| 19 | Stencil specification | Maximum frame size | 813*813*60mm 600*600mm 1250*1400*1625mm |
||
| 20 | Maximum measurement range | ||||
| 21 | Equipment Specifications | Dimensions (L*W*H) | |||
| 22 | Weight | 1300KG | |||
| 23 | Equipment structure | High-precision marble platform + casting structure,High-precision measurement guarantee | |||
| 24 | Gantry structure | Cast gantry structure for longer life | |||
| 25 | Transmission system | DC motor + non-contact grating closed loop control + flight scanning | |||
| 26 | Computer | Operating system | Windows 10 | ||
| 27 | Computer monitor | E5 Xeon 32G 1TB/ 22' LCD (1920X1080) | |||
| 28 | Software function | Programming mode | Gerber file programming, CAD import | ||
| 29 | Programming time | 2 to 5 minutes | |||
| 30 | Offline programming | Offline programming | |||
| 31 | Gerber file | RS-274、RS-274X | |||
| 32 | Model switching time | Less than 3 minutes, you can read the program by barcode/RF | |||
| 33 | Main algorithm | Calculate coordinate
position by MARK correction Calculate the geometric position and size difference between the opening and the actual Geber by vector image algorithm |
|||
| 34 | Device test mode | Offline test | |||
| 35 | Special function | Open hole wall quality observation | Microscopic observation | ||
| 36 | Test content selection | Test content and parameters can be selected according to size, type, A/R, W/T parameters | |||
| 37 | Test method | Multiple detection modes
and test level settings; Different components can be individually defined and tested at the component level; |
|||
| 38 | Detection database | Save program name, barcode, operator, opening area, size, coordinates, offset, tension data, images, etc.; | |||
| 39 | User rights | User privilege levels can be defined according to customer needs | |||
| 40 | Connected to the company's internal system | Open, custom data interface, data structure, communication method as required | |||
| 41 | Stencil barcode management function | Stencil barcode scanning, barcode information management | |||
| 42 | Stencil Gerber contrast PCB Gerber function | Stencil GERBER and PCB Gerber comparison function to check the correctness of Stencil GERBER | |||
| 43 | Gerber File comparison function | Optional | |||
| 44 | Accuracy comparison of the same type of Stencil | Optional | |||
| 45 | Stencil information management system | Standard version is available free of charge and can be modified and customized as required | |||
| 46 | Stencil history | File mode records test process and result data, and can view test results offline | |||
| 47 | Big data feedback and upload | Modify and customize as required (optional) | |||
| 48 | RF data read and record function | Modify and customize as required (optional) | |||
| 49 | SPC data statistics software | Position, area, size, SPC data analysis, summary report, CPK&Grr accuracy report, Plato and other data and charts; | |||
| 50 | Equipment demand condition | Voltage | AC 220V ± 10% (single phase), 50/60Hz, 1000VA | ||
| 51 | Air pressure | No need for air pressure | |||
| 52 | Does vibration affect accuracy? |
Does not affect | |||
| 53 | Equipment service | Warranty period | One year warranty | ||
| 54 | Equipment calibration cycle | Corrected after one year or after mobile device | |||
| 55 | Software upgrade service | Standard software lifetime free upgrade | |||
| 56 | Service support | 7*24, response within 4 hours | |||
| 57 | Spare parts warehouse | Shenzhen spare parts warehouse | |||
